


Here is a review video made by Mr ShutterBug. (The FC that Mr Shutterbug reviews is the original version, the position of the BOOT pad is different from the latest version)
A smooth and thrilled flying in the forest and detailed explanation of F4 brushed fc.
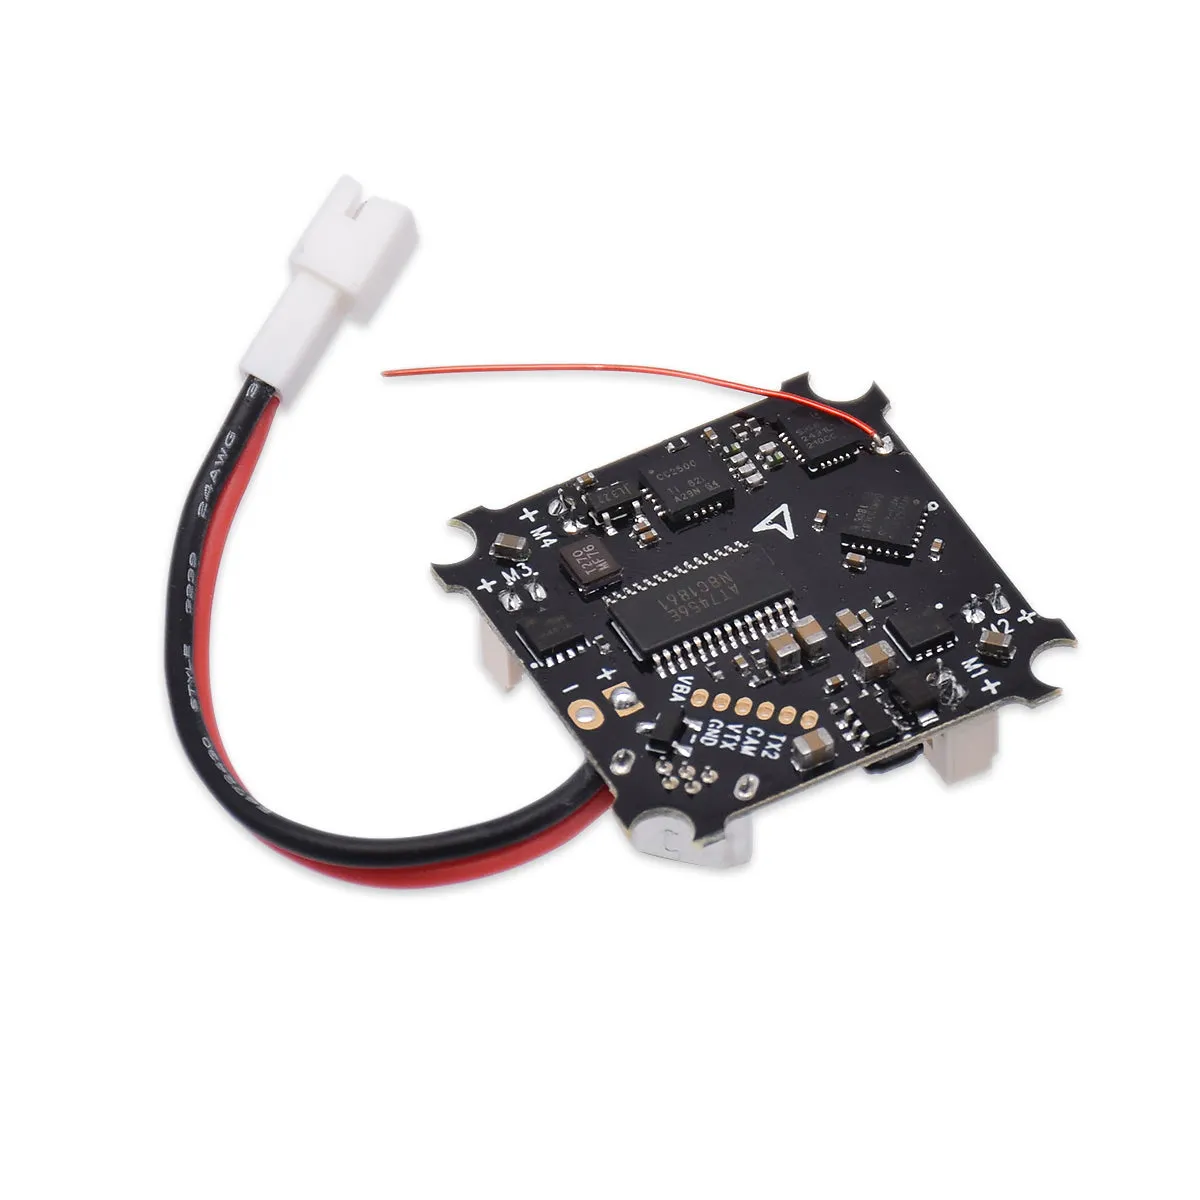
BETAFPV F4 brushed FC board bring a new era in FPV whoop technology. STM32F411 100MHz high performance MCU, 30A lower resistance MOSFETs, SPI Frsky Rx, Build-in Betaflight OSD and polar reversed protection. All of these is backed by the same reliability and warranty of all BETAFPV FC boards.
High-performance ST Microelectronics ARM Cortex-M4 core F411 100MHz CPU (safely overclocked to 120MHz). Okay, i am the second highest performance whoop board in the world.
30A continuous drain current MOSFET. Lower to 8.5mΩ inner resistance value (4.5V). It has a noticeable power improvement in low battery voltage status or with 8x20/8.5x20 motors.
TX1 is available for VTX control. You could change VTX settings such as channel and output power in your Betaflight OSD or using your Taranis LUA Script. Here is the diagram when using the TBS Unify PRO Nano 5.8G VTX.
Polarity reversed connection protection. Battery polar reversed connected. Bomb. This issue will never happens.
Key Features
- The world's first compatible BetaFlight OSD, SPI Futaba Rx, BetaFlight firmware, born for acro flight controller for the Micro Whoop or Blade Inductrix quadcopter.
- Fully programmable through Betaflight, using the onboard USB port, tune all the parameters, PID's, and rates to your perfect settings
- Designed to work with current Whoop or Blade Inductrix setups
- Built in SPI Futaba receiver, compatible with almost all of the Futaba radio controller
- The flight controller board comes pre-flashed with Betaflight firmware, and pre-soldered 55mm power cable pigtail with JST-PH 2.0 connector, AKA PowerWhoop connector.
Specifications
- CPU: STM32F411CEU6
- Six-Axis: MPU6000
- ESC: All FETs are rated at 30A maximum. Support 6x15mm/7x20mm/8x20mm/8.5x20mm etc motors.
- Size: 26mm x 26mm,fully compatible with the Inductrix quad frame and mounting pattern
- Firmware version: Betaflight MATEKF411RX 3.4.0
- OSD: Built-in BetaFlight OSD (STM32 controls OSD chip over SPI in DMA mode)
- Receiver: SPI Futaba Receiver
- Power Cable: 55mm, with JST-PH 2.0 connector, AKA PowerWhoop connector
- Weight: 3.7g
BetaFlight OSD
Betaflight OSD (on screen display) is integrated in BETAFPV F4 brushed flight controllers that shows important flight data on your FPV feed, such as battery voltage, current draw and much more. You can even use it as a menu to change your quad’s PID, rates, filters and other settings.
How to do an OSD with the AIO cameras?
There is a video in and out on the fc itself, labeled CAM and VTX as show below. There should be a video in and out on the AIO camera, like BETAFPV H02 etc. If not, you would have to modify the camera for sure but it would totally be worth it. There is some examples.
BETAFPV , FX806TC, VM275, FX805, Eachine XT02 etc aio camera vtx are available to use the OSD function.
BETAFPV Support Freshdesk for .
Tips: There is no current sensor on the FC boards. So the amperage value on the OSD is invalid.
Status LED
There are 3 LEDs on the bottom of the board to indicate the status, including Receiver LED ( Green), FC Status LED ( Red ) and FC Power LED ( Blue ).
LED | Status | Description |
Receiver LED ( Green) | Solid | Connected or in bind mode |
Receiver LED ( Green) | Flashing | Not connected |
Power LED ( Blue ) | Solid | Power on |
Status LED ( Red ) | Solid | Motor Armed |
Binding Procedure
The binding procedure is reversed as usual. No need to click the bind button when power on.
- Power on the board, either by connecting the battery or USB power. Then the green receiver LED start to flash.
- The second step, click the bind button for 3s. Then the green receiver LED will be solid on. This means that the receiver is in bind mode and you could start to bind your radio transmitter.
Some pilots would complaint that it is definitely not a long range FC. It looses signal with my transmitter far too often and for what appears to be no reason. This issue is often caused by the location of the antenna. You should keep the antenna away from the FC board to get a stronger signal. For example, run the singal upwards. Thanks for .
Assemble Guide
The mounting pattern of this board is compatible with all the Whoop airframes, like the original stock Blade Inductrix frame or the Beta75 75mm frame. For other frames like Eachine E010 or E011, a little bit modify is need.
Package
- 1 * F4 OSD brushed flight controller ( 55mm PH-JST 2.0 power cable soldered)
- 4 * M1.2x4mm screws (Fit for stock Inductrix frame)
- 4 * M1.4x5mm screws (Fit for Beta75 etc 75mm frame)
- 4 * Anti-vibration ruber dampers
User Manuals
Go to BETAFPV Support Freshdesk for


